Hello, everyone. My name is Abigail Garner and this is a
blog for my Botany 111 lab.
I do not have any experience in blogging and I don’t
think I can even be considered internet savvy, but we’ll see how this goes.
The Set Up of My Aquarium:
We were provided glass enclosures with lids that were
meant to slide on and off. Please not that my lid did not fit very well and
kept falling off. This should not be a
problem though, because the way this enclosure is designed should prevent water
from spilling out should it be knocked over.
The enclosures were made up of two class sheets which
were glued together on three ends. There was also a base which I believe was
made of plastic but could also be made of glass. The base and the top were
meant to fit in the same way which meant they could be easily removed so the
enclosure can be looked at under the microscope.
After I added a base to my enclosure and the three
required stickers for identification (red, blue, then yellow) it was time to
add water. I chose source number three for two reasons:
1. It was right next to me.
2. He described it to us as an underground river that
just happens to come out in Carter Mill Park and I thought that was very
interesting.
I have never been to this park, but I can safely assume I
probably never will just based on what was already swimming around in my
enclosure on the first day.
The following address holds the basic information about
the site where my water came from:
Simply scroll down to site number three and you can find
the address, the coordinates, the date the same was collected, and lots of
other information.
So, now that I have an enclosure and a water source, it’s
time to put the two together.
To start, I had to get a sufficient amount of sediment in
the bottom of the enclosure. This was harder than it sounds because the pippet used
to collect the sediment and water mostly picked up water. I periodically had to empty out a bit of water
trying to get the proper amount of dirt.
After I was done collecting dirt, I collected water from
the top, bottom, and middle of the container. Enough to nearly fill the tank.
The next step was to add plants for oxygen. Well, I didn’t
want to have to remember which type of plants I used, so I took all three
options.
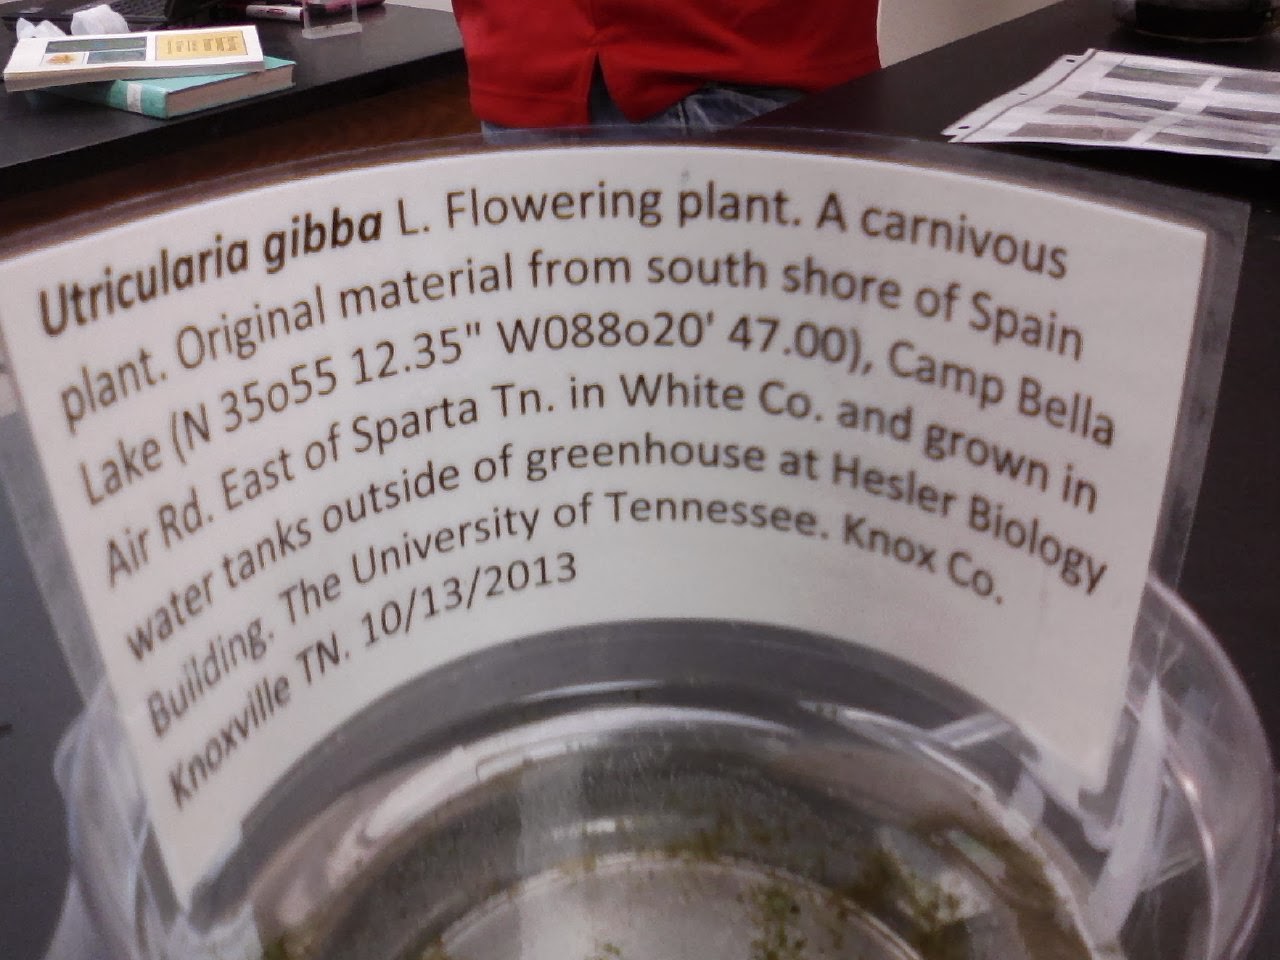
Utricularia gibba: (picture of information shown below):
Flowering pant
Carnivorous
Original material from south shore of Spain Lake
Fontinalis sp: (Picture of original information shown below)
Moss
Collected from the Holston River

Amblestegium varium (Hedwig) Lindberg: (picture of
original information below)
Moss
Collected from Natural spring at Carter Mill Park (same
place the water is from)

Put
all of that together and you get my lovely little aquarium as shown below.

Would you believe the same camera took all four pictures? The picture of my aquarium looks awful.
Observation
I could not believe how many organisms were already in my
aquarium. I still have no idea what I’ll find next week when I already have so
many.
Some of them even took the liberty to go ahead and attach
themselves to the plants I added in. That will at least make it easy to find
them. My favorite organism though is the bug living in the bottom of my tank.
It’s not very big, and it appears to be living in a very, very, VERY small
piece of hollowed out wood or something.
At first I thought it was stuck because of how it
wriggled around, but now I believe it is a form of shelter.
Here’s hoping the next several weeks go well.
Source:
McFarland, Kenneth [Internet] Botany 111 Fall 2013.
Available from http://botany1112013.blogspot.com/
No comments:
Post a Comment